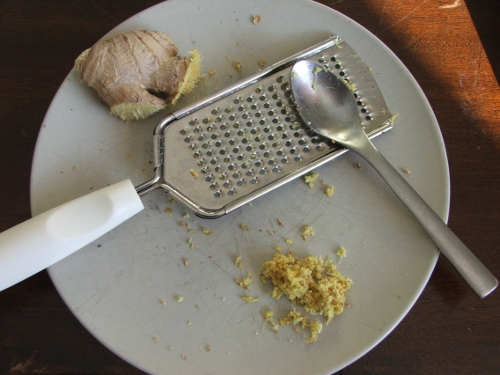
Yesterday I had great fun at the NOFA Mass. Winter Conference. (I took my red scarf off, I’m sorry, I wasn’t thinking.)
One of the things I learned, from Sarah Shields of Birch Moon Farm & Herbals, was how to use fermentation from airborne yeasts to carbonate drinks. I just started my first ginger bug, so soon we’ll have ginger beer!
Here’s the recipe:
- The BUG (OR CULTURE): FERMENTATION
Combine
- 2 teaspoons grated fresh ginger (or dry ginger powder)
- 2 teaspoons of sugar
- 1 cup of water (preferably not chlorinated)
{UPDATE: I corrected a mistake in my earlier recipe: 1 cup of WATER, not of extra sugar! My apologies!}
{UPDATE: honey – an antibacterial – will inhibit the yeast you’re trying to grow. So be sure to use mostly or all sugar.}
Leave the bug in a mason jar on the counter, with a cheesecloth over it so it will draw the yeasts from the air but not get dust in it. Every day feed it 2 teaspoons of ginger and 2 teaspoons of sugar. Stir it twice a day to aerate it. After about 2 days – 1 week (depending on how warm your house is) you will see bubbles going up to the top. And you’ll hear it, bubbling away – it’s like listening in on thousands of little bugs having a dinner party. At that point it’s ready: fermentation has started. After that you can feed it every 2 days but it’s best to use it straightaway in the beer.
- The WORT = the base
Bring to a boil:
- 1/2 gallon of water
- 3-6 inches of fresh grated ginger root
simmer 20 minutes, add water to taste (let it cool down a bit first!). While still warm, add
- 1 1/2 Â cup of sugar
Pour the whole thing into a gallon container. Let it cool to room temp, add the juice of two lemons (or oranges), which will slow down the fermentation. Then add the ginger bug (either with or without the sediment – keep some sediment for making more bug).
Keep the jar on the counter, with cheesecloth, and stir twice a day. Keep it warm and keep an eye on it. Â It could take from 3 days to to 1-2 weeks (again, depending on the temperature) to get ready. Taste it once in a while. If the bubbles rising up at the edge, it’s usually ready.
- BOTTLE: CARBONATION
Bottle the beer. Leave the bottles out for 1-2 more days.
Keep an eye on them! Sarah kept warning us: IT’SÂ ALIIIIIIIVE! She had many stories of exploding bottles and soda geisers when opened {UPDATE: yes, it also happened to me}. That is why corking is better, for the beginner, than capping. If the fermentation runs out of room in the bottle, it will blow out the cork, or it will explode a capped bottle. Both are messy, but the latter is more so, and dangerous. If you add fruits (and thus more sugar, i.e., food for the bacteria), then cut the fermentation and carbonation times in half and watch them even more closely.
When the yeast ferments the sugars (which it will keep doing unless it gets too cold), it produces CO2. Closing off the container at this point will force that CO2 into the liquid instead of letting it escape, thus carbonating your soda, or making it fizzy.
After several days, put the bottles in the fridge to stop the fermentation. It is ready to drink.
These drinks are usually not alcoholic. But as it’s alive and it depends on many factors, it will be up to you to tell…

I do hope this works for you! My ginger beer experiment was a flop. No fizz when we opened the bottles. Very disappointing but I think the caps weren’t on tight enough. I really need to give this another try.