After the frames, the boxes. The priority is two hive stands and four deeps, two for each of the new colonies and one for a swarm box. The four mediums as honey supers, and one shallow that I want to experiment with will be for later. I still had two bottom boards, among which is one full one which I need to transform into a screened one, and already picked up two assembled telescoping outer covers and two inner covers for a song.
We cut the wood to size  the other day, following this pdf.
You can’t use 1 x 10s for deeps, which are standardized at 9 5/8″  to fit frames that are 9 1/4″ (leaving the “bee space” in between frames). 1 x 10 are not true, not 10 inches wide. I found on the net that when the Langstroth hive was standardized, a 1 x 10  also wasn’t true: it was 9 5/8″ wide, so that’s what the beekeepers and supply manufacturers took as the size for a deep and a deep frame. Since then, 1 x 10s have shrunk some more, down to only 9 1/4″ wide. So you have to use a 1 x 12 to fit in a deep and cut of a bit. You can get one box out of an eight footer. Same for the mediums and shallows: you have to use a 1 x 8″ . The wood we cut off won’t be wasted, really, because we can use it for rim boards.
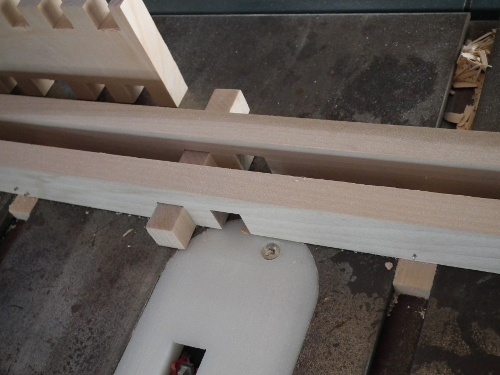
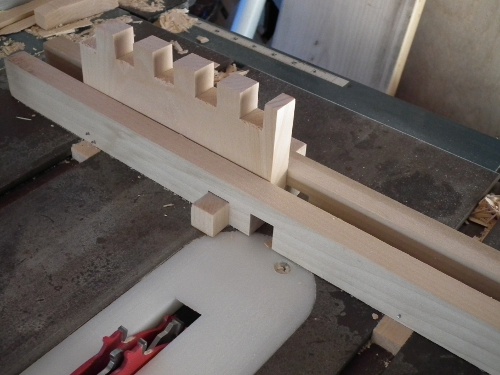
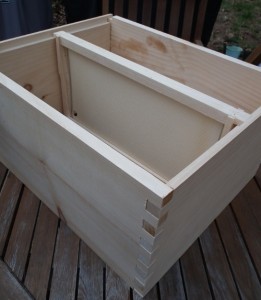
We routered the rabbets on the short sides that the frames will rest on. Then it was time to cut the box joints, which we did with a dado, a combination of blades on the table saw. Our first jig made the joints too  tight, making the wood split when we knocked it together.  We built a good one.
We  even waxed the sliders that fit into the grooves in our table saw with beeswax. Worked like a charm!
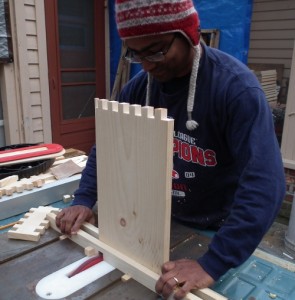
Here’s DH working the jig. He’s so good to help his wife with her slightly out of the ordinary projects!
Oh, did I tell you, that this would be a LOT more work without a router and a table saw? And a dado set?
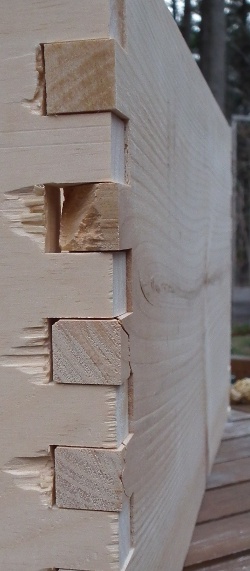
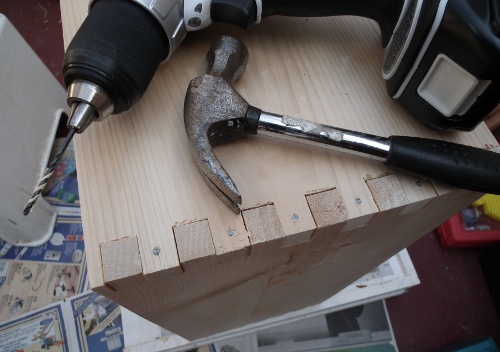
The pine was giving us some trouble. Some of the planks are bowed, making the fit less than perfect (but the bees will propolyze any gaps). The wood also split on us, like in the picture above. I’ll fix it with glue. It’s just one notch, so it won’t harm the overall strength of the joint.
The frames fits. The box is square. Time to glue the corners together with a bit of Elmer’s exterior wood glue, then to immediately pre-drill a couple of the pins and hammer in the  1 1/2″ 6d galvanized nails so that the corners won’t shift as the glue dries. Then I pre-drilled and hammered  in each pin.
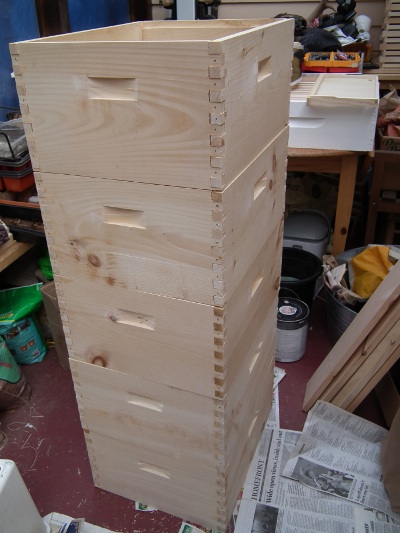
 Here’s the end result of a couple of days work (which could all have been done in one, long day), ready for some paint:
Check out how much it cost to build this and a comparison with a hive kit here.
I want to come and play at your house! :)
How did you cut the handle holds ?