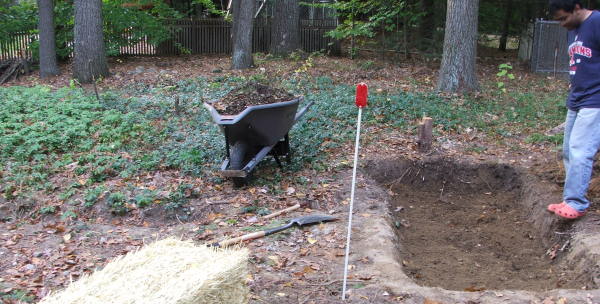
So over the weekend we dug a big pit (8′ x 3′ x 1.5′)Â where part of our vegetable garden will be. Tomorrow spells rain, and we didn’t want all that laboriously dug and sifted soil to wash away.
So we decided to immediately apply the “Bomb Proof Mulch” from Toby Hemenway’s Gaia’s Garden – a book we heartily recommend, by the way. It’s a recipe for soil-building, but since we already have pretty good soil (except for it being a little clayey) we felt comfortable with adapting it a bit. Hemenway also recommends to leave the existing soil and the vegetation on it be, as it will all decompose and gets better underneath the “mulch”, but as we have so many stones and roots in our soil, we had no choice but to dig and double-dig.
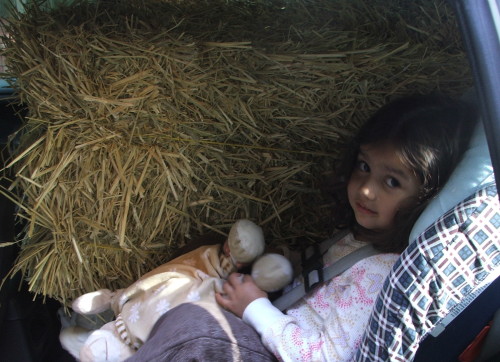
First we drove out to the next town over to get us some straw, with which we proceeded to stuff the car (four bales). I know Amie looks dubious in the picture, but she loved it.
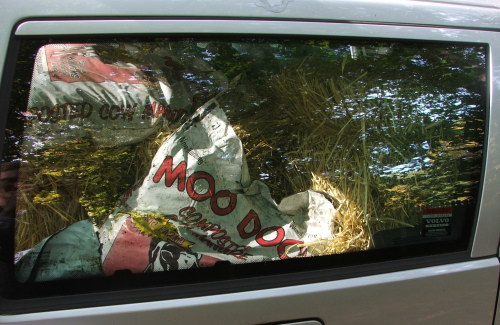
We also got some bags of composted manure – Moo Doo, cheap for $5 a bag (the farmer wanted to get rid of them). It really didn’t smell too bad, but we did get some strange looks from people along the road.
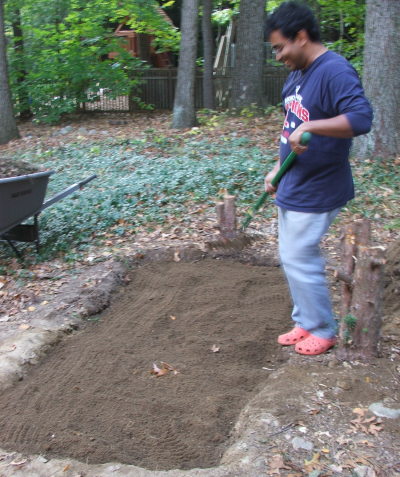
Then we rolled up our sleeves, double-dug the whole pit (loosened the soil at a depth of more than a foot and took out some more stones) and threw in a bag of Moo Doo:
Then we stuck most of the sifted soil back in:
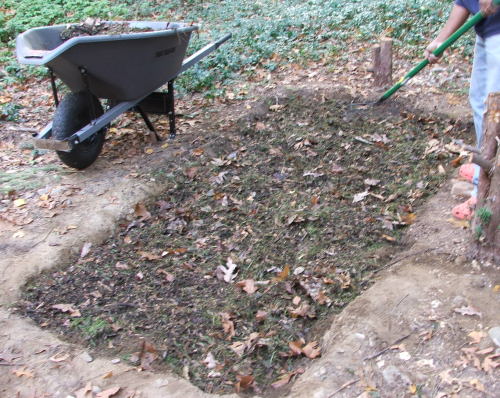
Then we heaped on half a wheelbarrow load of a mixture of our homegrown compost (of which we don’t have much yet), green grass clippings and a lot of browns like fall leaves and partially composted wood chips and watered that. The idea is that this nitrogen rich material attracts worms and beetles other decomposers:
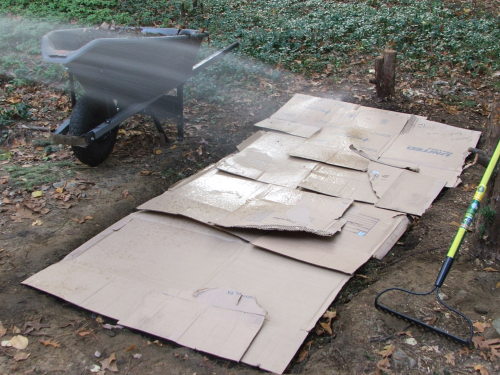
Next we covered it with a layer of all those cardboard boxes we saved from our move (staples and tape removed) and again soaked that:
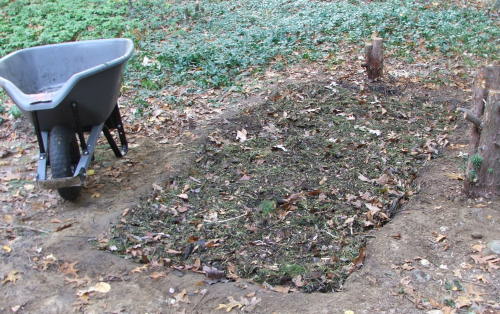
Then we put on the other half wheelbarrow of the compost, clippings, leaves, and partially composted wood chips. Here the idea is to entice the decomposers who made it to the layer below to eat through and digest (thus compost) the cardboard:
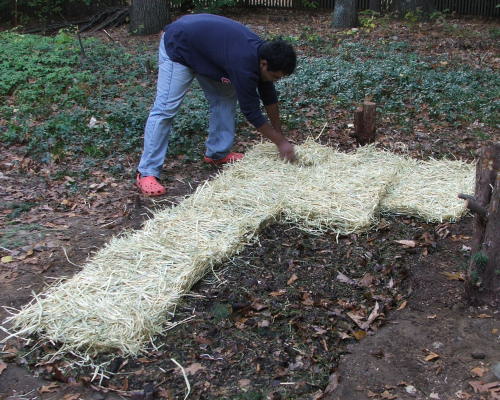
Then we put our straw to work, laying down two layers of “books” of straw, soaking again. This is really the “mulch” part of this exercise:
Lastly we put the rest of the sifted soil, partially to weigh down the straw (it can get a bit windy up here on our hill) and partly to cover up this now very conspicuous patch, and partly because we still had a little left over.

It totally looks like I did nothing, doesn’t it? But I did! Then I had to rush off to Yoga and felt wonderfully invigorated, though I may still have smelt of manure a bit.
Total cost for this patch:
- 1 bag of Moo Doo = $5
- 1 straw bale= $8.99
- about 9 hours of work (two of us, but it included a lot of mucking about with a homemade sieve and some pesky tree roots)
Next weekend we tackle another 8′ x 3′ patch and hopefully as we progress the cost in time and effort will grow less. Come winter we’ll be able to sit back and dream of all that mulch working away on our soil.
With regard to the square-foot-gardening, I found a helpful way of planning, recording and keeping track of the crops: check it out here.
UPDATE: we didn’t get round to double digging another patch that Fall, or even that year. The works were taken up again today, 8 March 2009.