The Earth Oven series:
- foundation
- base
- hearth
- thermal mass
- first drying fire and door arch
- insulating layer and chimney
- Patching up, and first pizza!
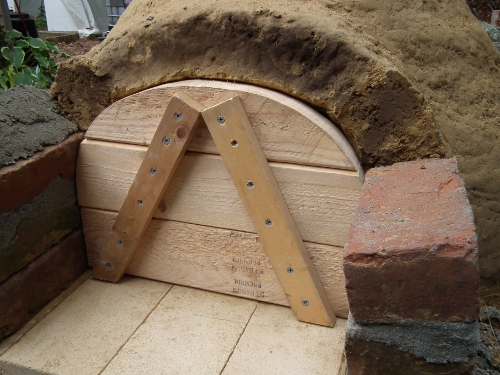
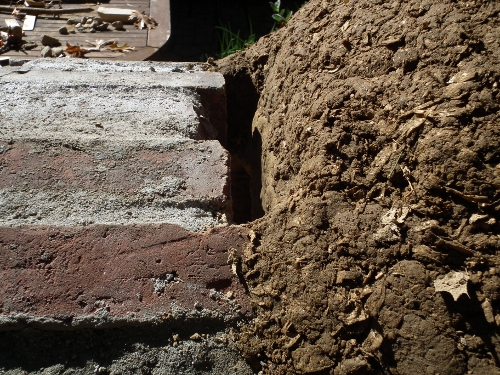
Advice for the novice bricklayer: when building an arch, when done, remove supports and then let cement dry. You guessed it, when removing the supports under my hastily built arch, the structure sagged minutely, cracking the dried cement. The arch stayed up because all the bricks were wedged, but it wasn’t very stable and, most importantly, the door no longer fit. Positive side: it wasn’t hard to dismantle the loose parts. Â We also took advantage of the opportunity to fit the door well into the thermal layer, like a plug. Then we built the new arch, with four hands. And removed the supports.
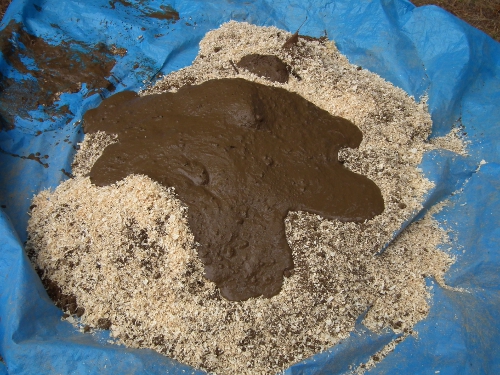
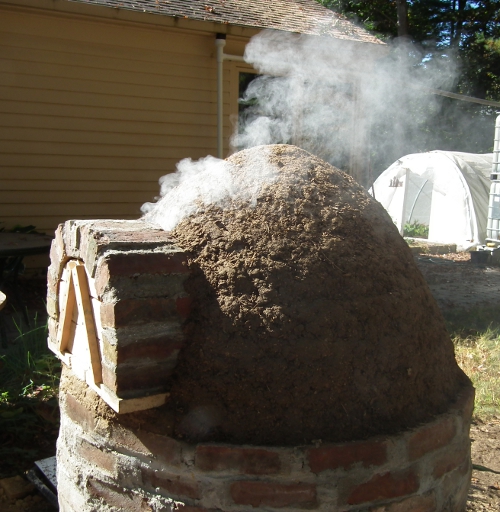
While that was drying (and while another peck of apples was drying in the dehydrator), we mixed wood shavings with clay slip and started on the second, insulating layer (about 3″) on top of the outer rim of the hearth which was made with the same material. Denzer in his book likens this to the candy shell around the m&m, or a blanket: a nice, tight envelope to hold the heat in.
The idea is for this layer to have lots of air pockets, so you don’t compress it as much as you do the inner, heat-retaining dome. Still, I was a little nervous because the trick is to press down, away from the inner dome, which might collapse under such pressure. It’s especially tricky once you hit the top to the dome.
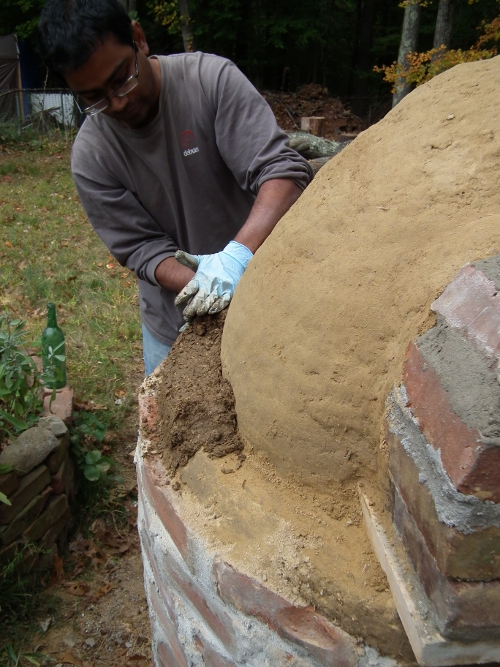
This took us a good couple of hours, and we needed more of this stuff than we had anticipated. In the end we were scraping the bottom of the barrel for that good clay soil. But here it is, a fully functional earth oven – it just needs drying out.

At the top of the arch there is a small opening that will become a chimney (to be added when we put the last, decorative layer on).
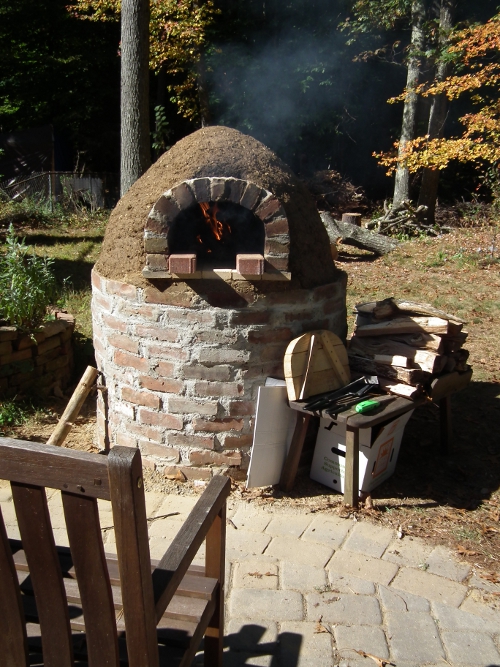
When initially firing the wood, the door sits to the front of the arch, keeping the chimney open, like so:
Once the oven is hot enough and you remove the coals and ashes and put in the food, you push in the door so it plugs the gap, sealing the heat inside.
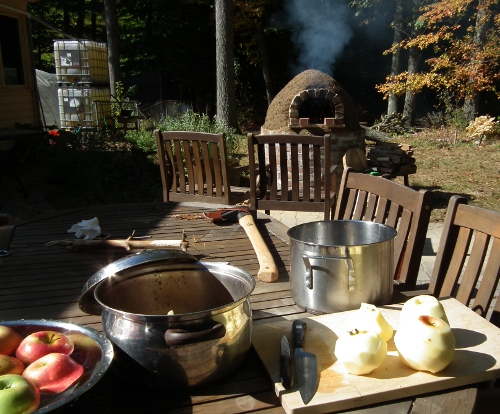
You know you’ve hit a critical point in a multi-stage project like this one when you get to clean up. I also got my splitting ax out an finallyd gave it its first test run, chopping logs into smaller sticks. “Is this the life or what?!” I proclaimed several times as I swung that ax.  DH agreed.
We built a nice big fire and I minded it while peeling and chopping apples for more sauce. Â The wasps soon found out, and when I was done there were about 10 of them enjoying the juices. It was a little annoying but I found that walking round the table and generally staying in motion really helped. This one I file under the topic of making peace with the true masters of the Earth, the insects.
A friend asked me why we built such an oven. There are many reasons: our electric oven doesn’t go up to pizza temperatures (800F), you get to cook outside, and, well, there is fire. We all three of us love fire. The first fire in the wood stove is always a ritual, splitting wood and getting it into the porch is a family event, and we can watch it, feel it for hours.  My friend doesn’t have a fire place or wood stove, so he doesn’t understand, but to have added yet another locus for fire to happen (in a controlled way!) feels like a tremendous enrichment.
Leave a comment