The Earth Oven series:
- foundation
- base
- hearth
- thermal mass
- first drying fire and door arch
- insulating layer and chimney
- Patching up, and first pizza!
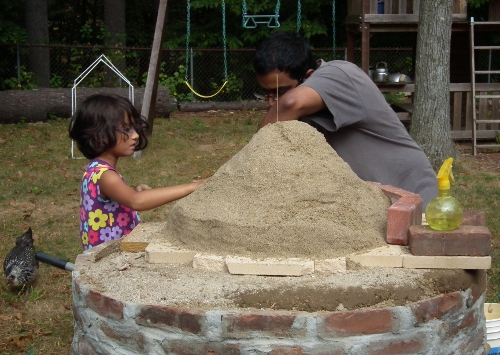
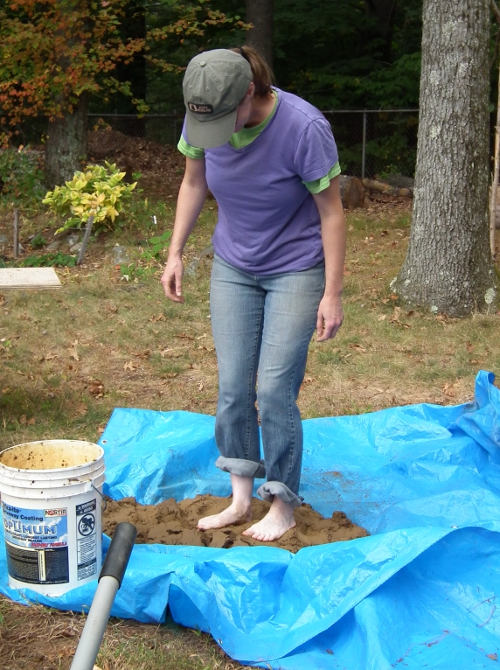
Today we worked on the oven again. Rain threatened but never materialized. It made for a warm, overcast day, just perfect for some more or less hard outdoor work. First we formed the sand form. This was a lot of fun.

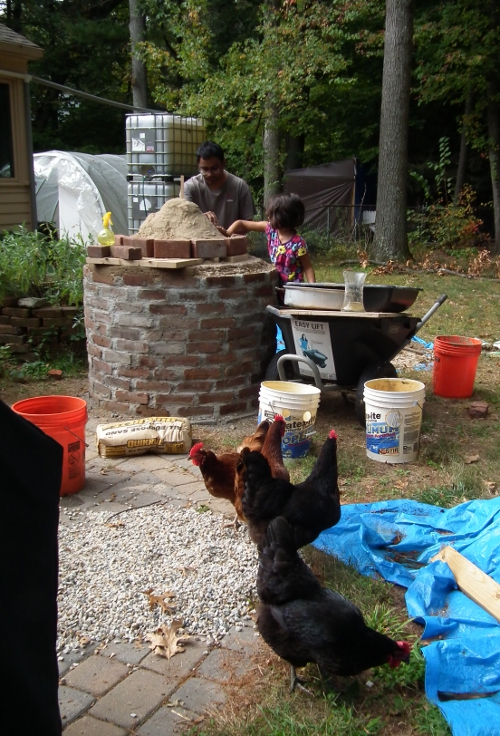
It was like a day at the beach. But with chickens.
They were all outside and curious. Then an owl sang out, three times, in the middle of the afternoon. I’m used to hearing them around midnight. Then Amie and her friend herded them into the run, where they would be safer.
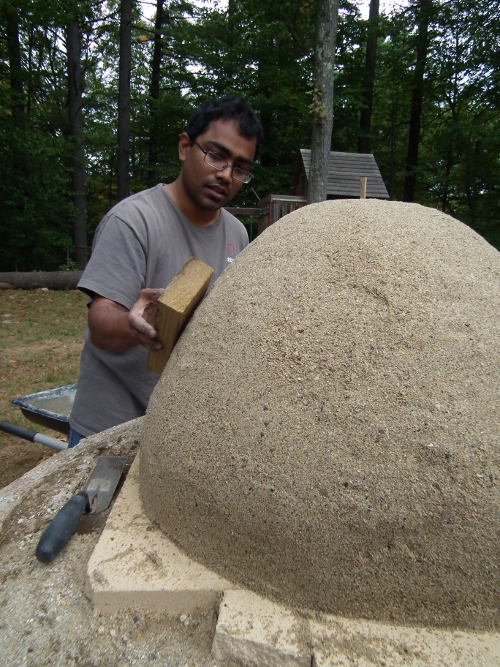
It’s important  to get the right height (16″) and a convex shape, because apparently that makes for more even thermal movement. We wetted the sand a bit, and overall it was easy to achieve a nice shape, it just took a while, and a LOT of sand (five 50 lbs bags).

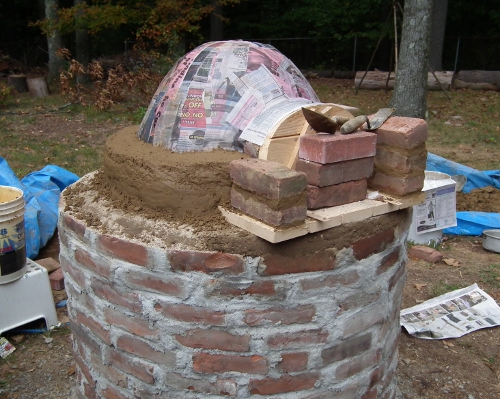
In order to protect the sand form, you can put strips of wet newspaper around it.
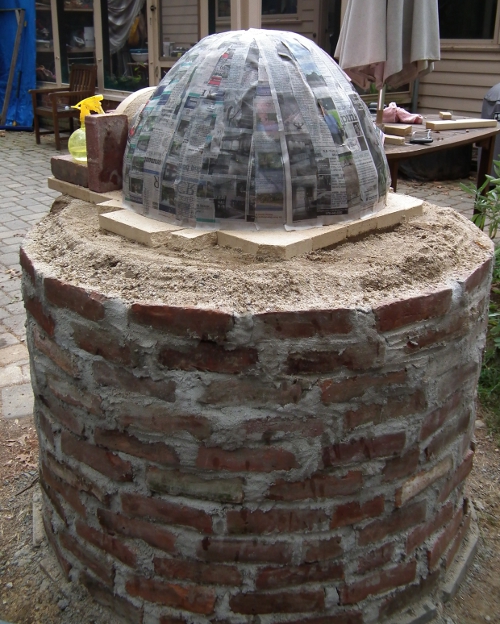
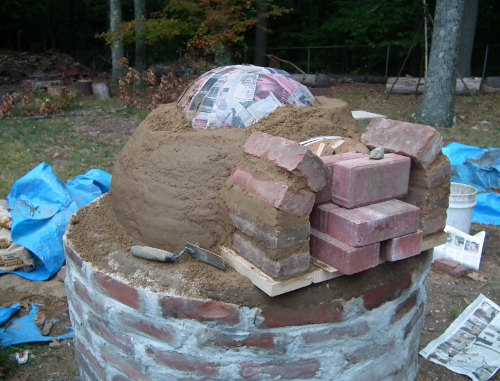
Then it was time to pack the oven mud around the sand form, making the inner shell, the thermal mass that will absorb the heat during firing and release it during cooking. Because we’d need a lot and because we used the more clayish soil that came from deep in the hole we dug, which was a lot heavier than the oven mud used for the hearth, I opted for a quicker way of mixing it:
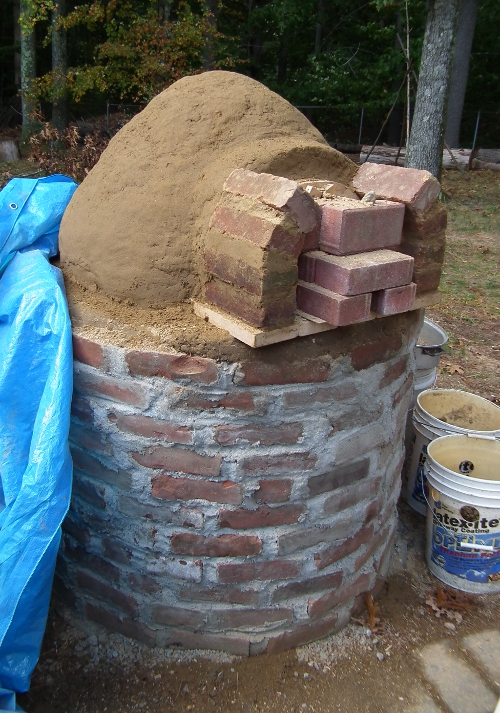
I made many, many batches. The inner shell is supposed to be 3″ thick, but because of bulging due to the oven mud being too wet in places, a lot of mud went into that shell.
Leave a comment