The Earth Oven series:
- foundation
- base
- hearth
- thermal mass
- first drying fire and door arch
- insulating layer and chimney
- Patching up, and first pizza!
So far, none of the Earth Oven preparations, the foundation and the base, have had nothing to do with heat. Which is, of course, what the oven is all about. Heat becomes the issue and challenge with the hearth, upon which the wood will be burned and the food, not, we hope. Since the hearth is a very important part of the oven, this is the stage where we started becoming a bit more careful and since it finally involves clay, we also started having more fun!
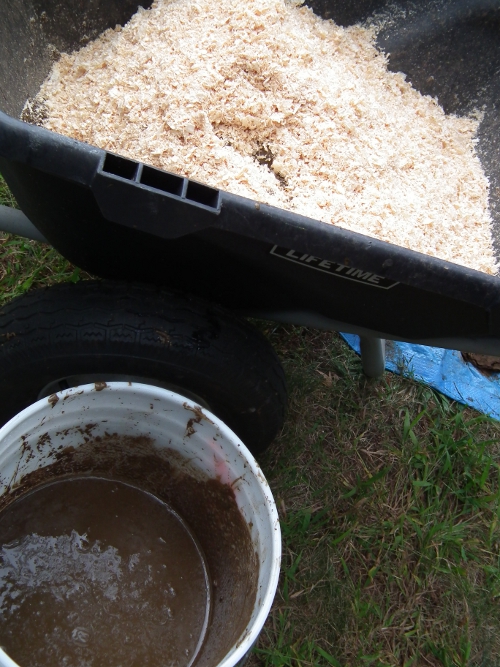
Wood shavings and clay slip (a very watery clay) make a great insulating material. Over time, the sawdust will burn out, creating small pockets of air, which is the best insulator (as long as it can’t move or escape).
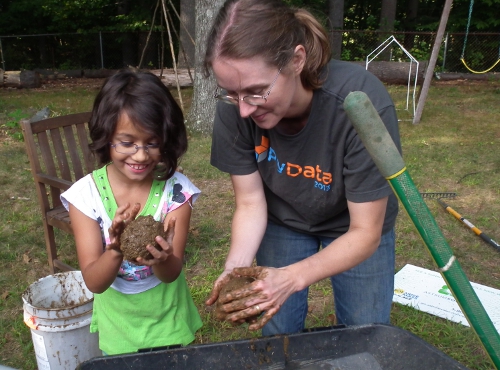
This was a lot of fun. So tactile. The whole family got into it.
We buried empty wine bottles (again, pockets of air) in this insulating stuff.
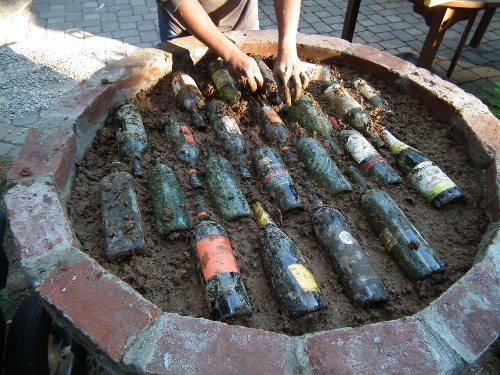
Now we’re really talking thermal. This is the first barrier between the cold stone fill beneath and the heat that will develop up top. We buried the bottles up to their shoulders, then leveled with sand.
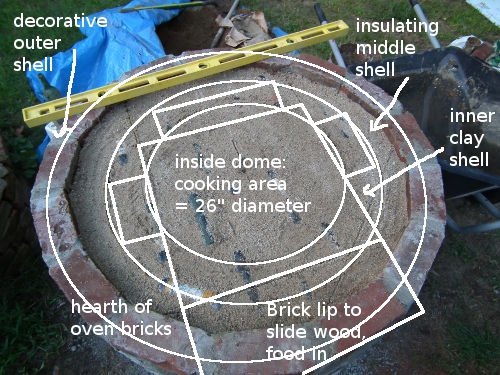
The oven has three shells:
- the inner one, of “oven mud,” which will directly absorb all the heat,
- the middle shell, of insulating material,
- the outer, decorative shell of clay, straw, and some rain proofing material.
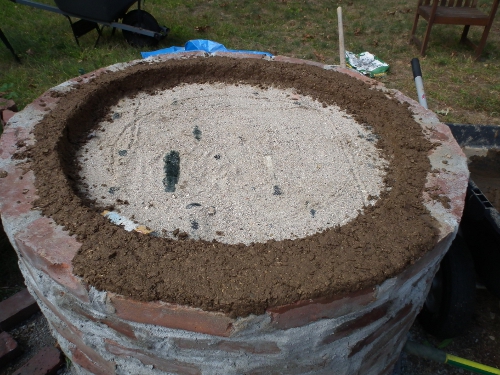
As we had started with the bottom of the middle, insulating shell, we built that up, creating a ring up to the right height (3″ give or take):
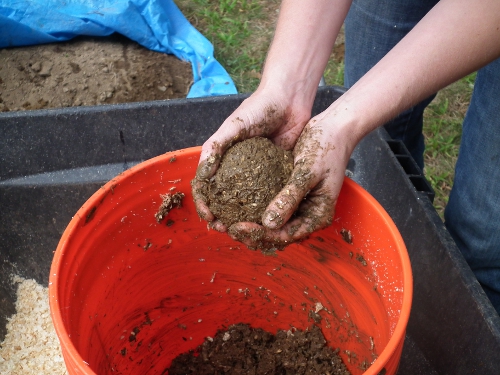
We were ready to start on the inner shell of oven mud, which is just clay, sand, and water. This is the stuff we tested earlier, with our bricks. This shell will absorb the heat during the burn and release it during the bake. It’s easy to mix an oven mud that is too wet. While mixing it,  make a ball out of it often and you’ll see that even though it’s quite crumbly, it makes a strong brick.
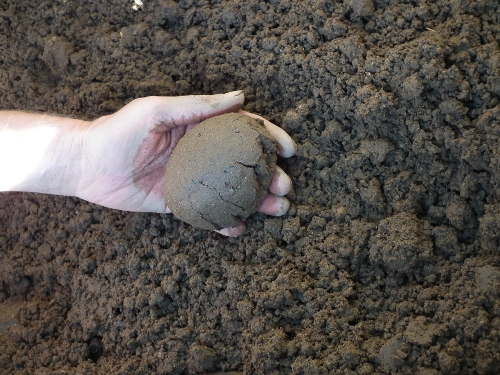
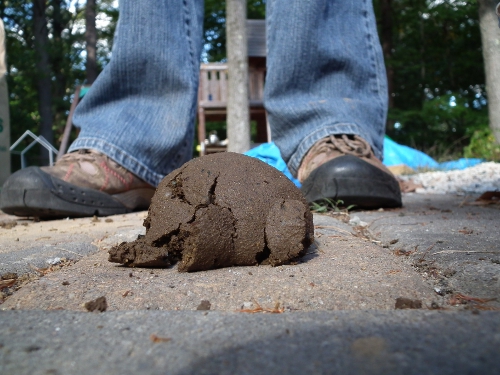
The test is to drop it from shoulder height. It shouldn’t shatter (needs more mixing), and it shouldn’t go splat (too wet). This batch needed a little more mixing.
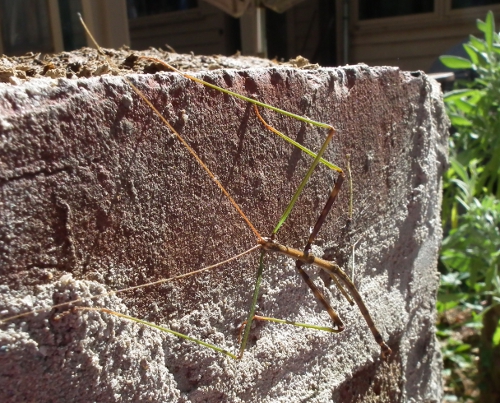
This stick insect was intrigued
This shell envelops the oven bricks. After filling up the space inside the circle, about 3″ high, we placed the 22 oven bricks. At $60, they were the most expensive part of the project, as most of the other stuff (except for some bags of sand, gravel and cement) came straight the property.
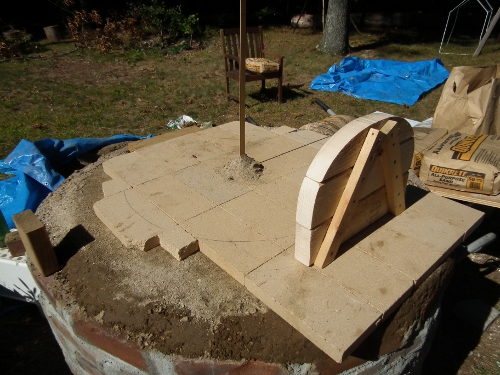
It’s important to have as few gaps or cracks between the bricks, as those will capture ashes and food residue. Also, make them as level as possible, so the food or your sliding tools like the rake to pull out the ashes or the pizza peel, don’t catch on it.
Then we made the door out of 2 by 4’s . The shape it that of our pizza peel. Here it is placed where the door opening will be. You can also see the beginning of the sand form. Stay tuned!
Leave a comment