The Earth Oven series:
- foundation
- base
- hearth
- thermal mass
- first drying fire and door arch
- insulating layer and chimney
- Patching up, and first pizza!
For our wedding anniversary DH took the day off so we could start building our earth oven. Yes, that was our anniversary present to one another. People tell us we’re the most romantic couple they know! We’re following Kiko Denzer’s Build Your Own Earth oven, which I highly recommend and are making the 22.5″ (internal) diameter oven. Phase 1 was to dig down to below the frost line.  We finished this phase on my birthday. Yes, that was my birthday present! Well, one of them (you may remember I also got an axe).
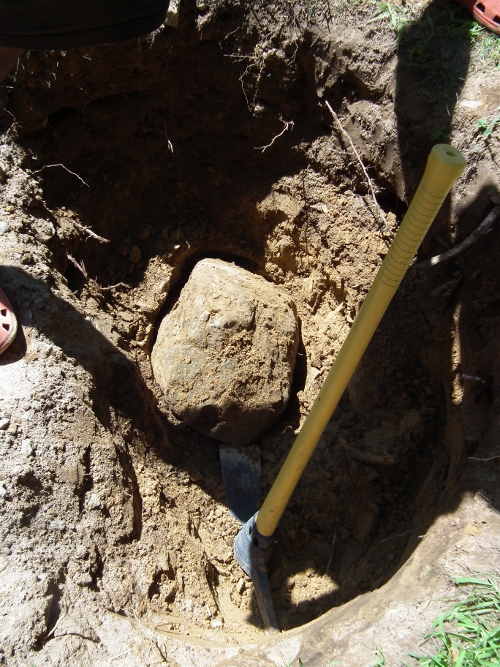
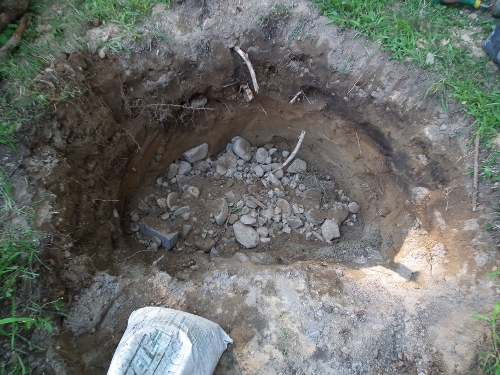
We began by excavating a pit, 50″ in diameter, three feet deep to get below the frost line (except for a “shelf,” where the installers of our patio had already dug down and laid foundation). There were some huge boulders in there.
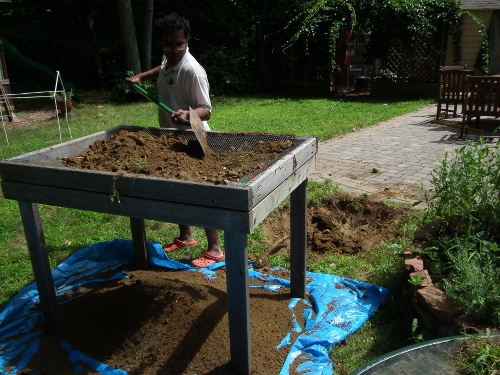
We sifted the soil  from the rocks as we went along, using our compost sieve, a very handy thing built in 2010 and still standing.
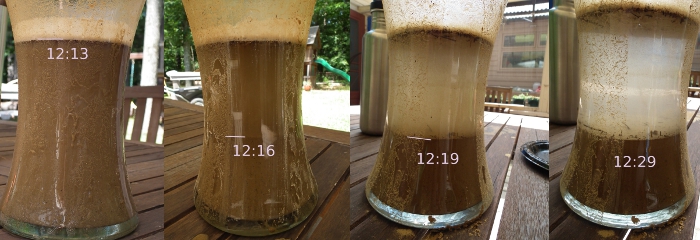
Then, in the last foot and a half or so, we found a lot of yellow, fine soil that we got very excited about.
We thought it was clay. You need clay for the earth oven itself, and we really wanted to harvest it from our own property. However, when we did the clay test, we were disappointed. It precipitated (separated from the water and sank down) way too fast.
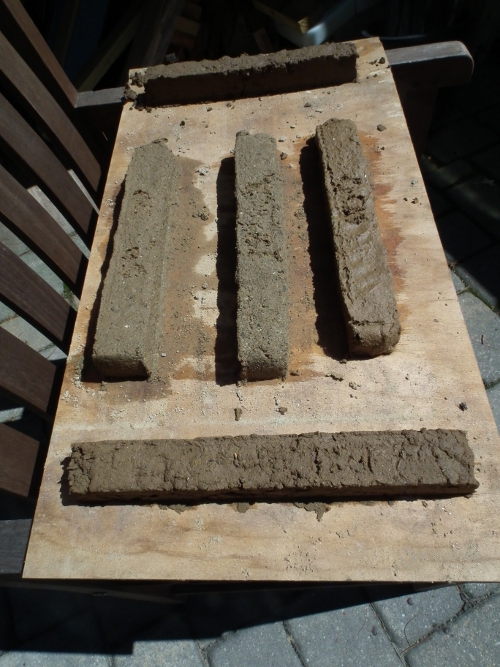
Another test is the brick test. We made seven bricks in the end, each with different ratios of the stuff we thought was clay and the soil above that.
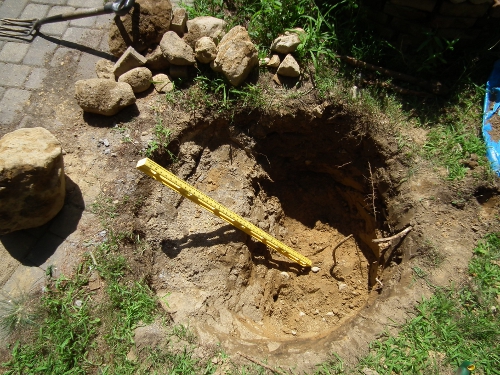
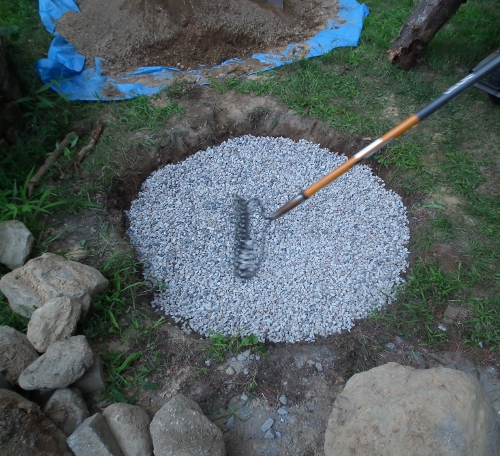
While we waited for the bricks to dry in the sun, we started re-filling the pit with a mix of “urbanite,” a term for anything and everything you can find on your property, with however as little fine soil as possible. You want minimal compaction as well as really good drainage so that there’s as little possible water in the foundation that can expand when it freezes, thereby moving  the base and causing cracks in the oven.  Hence the sifting, which was a pain we would otherwise have dispensed with. So we threw in the boulders we had just dug up, all the rocks and pebbles, as well as broken pavers and bricks. We filled up the small spaces  in between these and stabilized the whole mess with coarse sand and crushed pea stone that we got in bags from Home Depot.
We topped the whole thing with gravel (also from the ‘Depot).
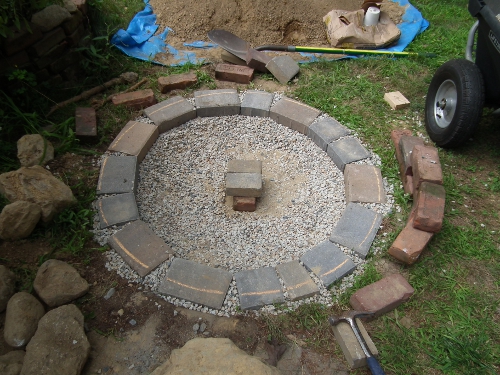
On top of that we placed cement pavers left over from the patio project, taking care that they were level. These made the foundation for our base.
Of the seven bricks one seemed strong enough to be used as the “earth” (clay) for our oven. It remains to be seen if it will be enough. About that, in “Phase 3.” But first, Phase 2: the Base.
Leave a comment