Background
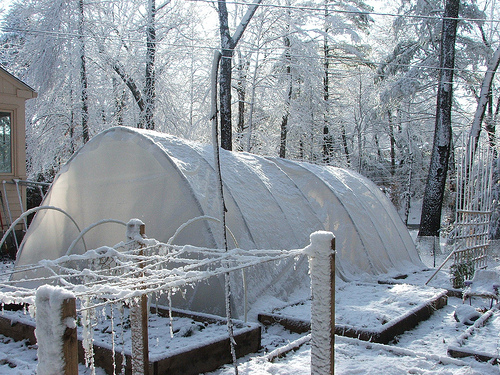
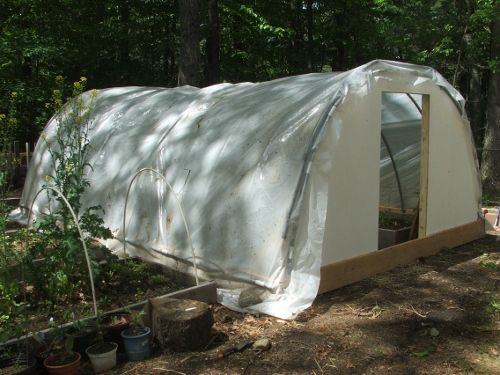
Inspired by Eliot Coleman’s Winter Harvest, we built our first hoop house in December 2009. We got it in place right in time for the first winter storm. It was made of pvc pipes and 6 mil landscape plastic. The only “specialized” thing about it was the clamps we used to clip the plastic to the pipes. It cost $250, tops.
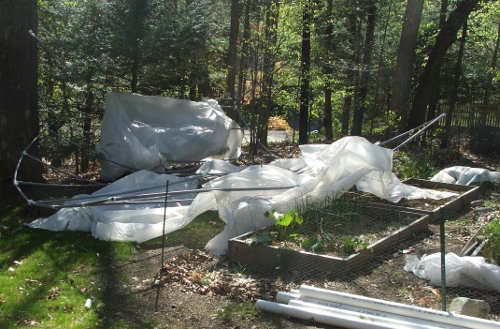
It gave us a pretty good Winter and early Fall harvest, but it was not hassle free. It simply wasn’t strong enough. Snow load was a problem, which we addressed with a small modification (version 2.0), and lots of timely shoveling. Then the winds came, and we had a couple of close calls for a more drastic redesign. A couple of days before we planned to dismantle the by now tattered thing, it actually did blow away!
Seeing the possibilities of a hoop house in Summer (warming and protecting hot-weather crops such as tomatoes, eggplants and peppers) and in Winter (very early harvests of mache, spinach, brassicas, among others, and overwintering biennials for seed saving), we decided to put some more time and money into it. We reused almost all of the pvc pipe “ribs” and their connectors, and are reusing the plastic until a new one comes. All the new costs went into wood and metal hardware (connectors, screws, etc.).
The main improvements are in the wooden baseboard and the wooden end walls. These will prevent any snow from accumulating along the bottom and stressing the pvc pipes (breaking the connectors on top, as happened before). And obviously they will prevent the whole thing from flying off again.
Our new design was inspired by this one. Our improvement upon that model is that ours is movable, in that the modules of the structure are all detachable and that the plastic is clipped (not stapled) to the structure and can be easily unclasped.
~
Construction Steps
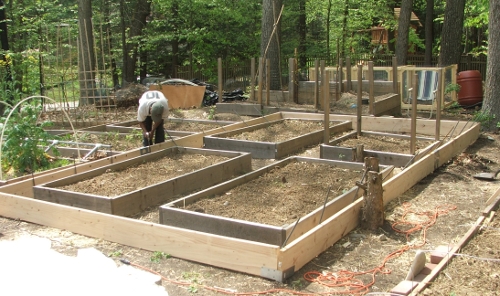
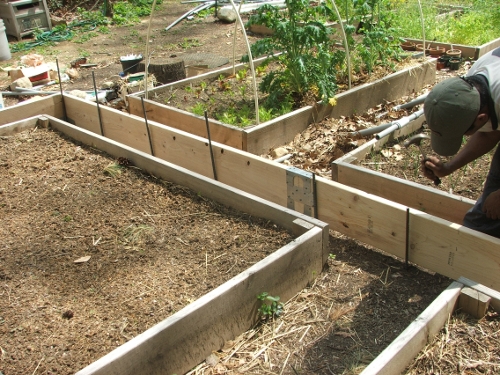
We started by making a box out of four 2x10x12 and two 2x10x8 spruce boards. It encompasses 4 beds in each of the three positions it will take in our garden (it’s still a movable hoop house, for crop rotation). This makes it 20′ x 12′.
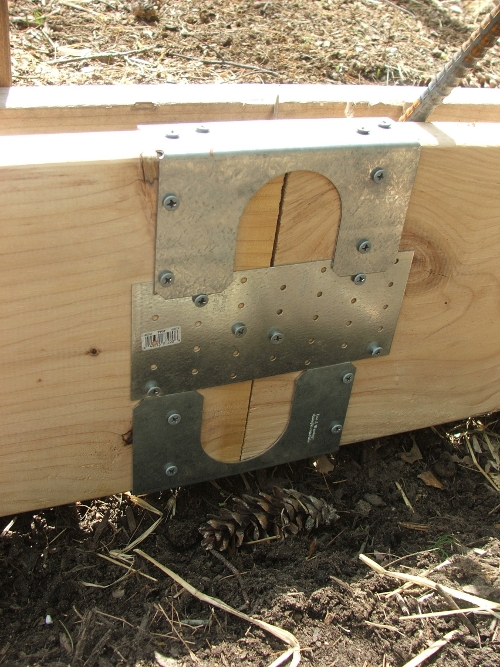
Since there was no way we could transport two 20′ boards, we attached a 12 footer to an 8 footer with ties and stud shoes, like so:
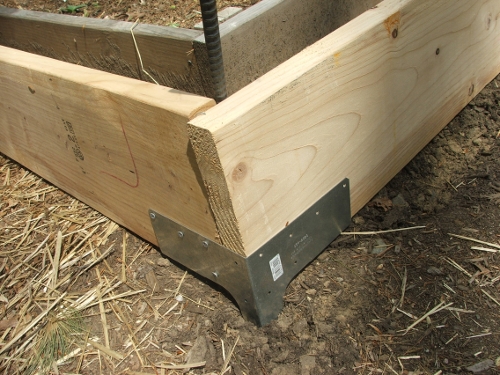
At the corners we used these Simpson rigid corner ties. All these connectors are readily available in the big box stores.
We screwed these corner connectors to the end wall baseboard (the 12 footer) only. The idea is to be able to take the whole thing apart easily, so we want to parts not to be attached. If attachment is necessary, we used bolts, for having to unscrew screws each time we move it would ruin the threads in no time and force us to replace boards too often.
Then we pounded 2′ rebars into the ground at those places where we want the ribs to be positioned (9 ribs so 18 rebars):
That part in place, we moved on to the end walls. First we made two of these frames out of 2x4s (we used a pneumatic nail gun):
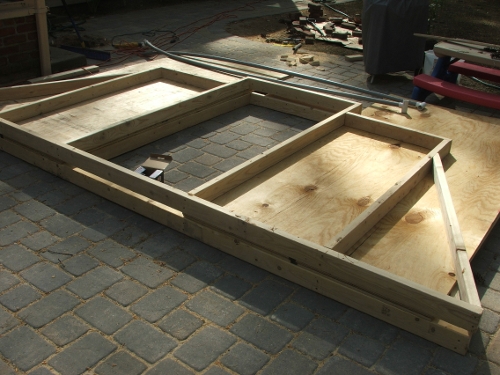
The base of this is, obviously, 12′ wide. The height, 7′, was determined by the height of the rib arches. Onto these frames we screwed the plywood sheets. Then we sandwiched the two end walls together:
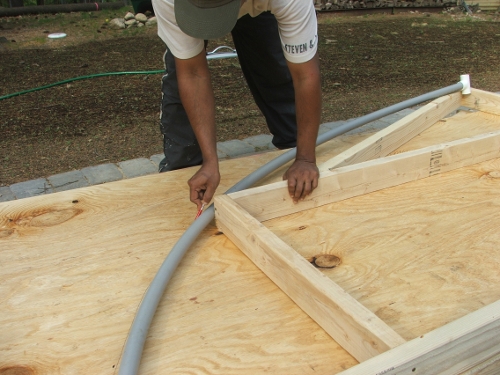
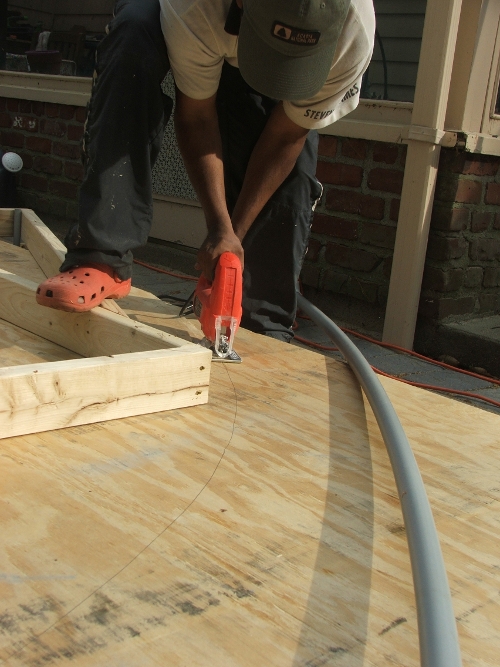
We used a rib to mark out the rounding edge:
Then we cut along the marking with a jigsaw – both walls at the same time:
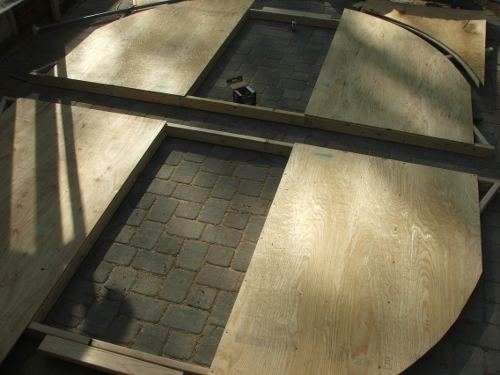
Voila:
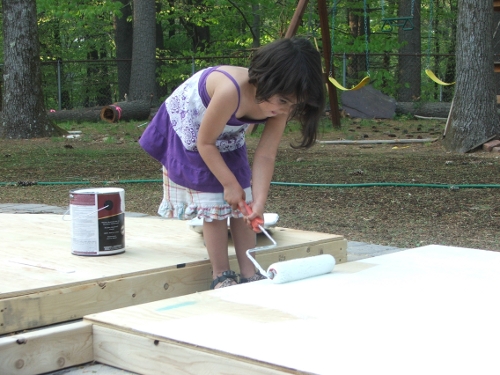
We painted the walls with exterior house paint (two layers):
Once the paint was dry, we moved the end walls to the garden. They were heavy, but with the help of Amie’s Radio Flyer we got them into place against the inside of the baseboard box. There we braced them to the baseboard with the help of hex bolts (5″, which were a little too big). Amie had fun watching the T-nut go in as she tightened the bolt.
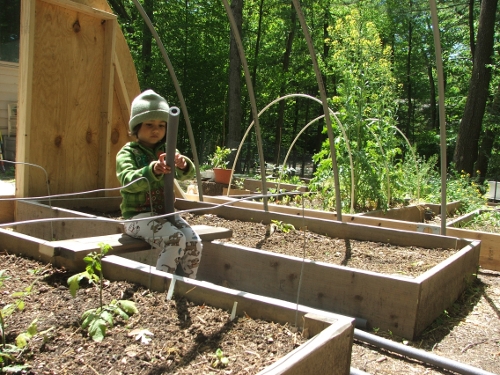
It was a blustery day – hence Amie’s cap – but once attached these walls weren’t going anywhere!
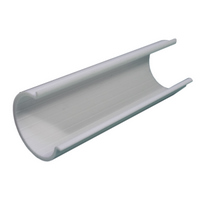
Next we fitted this foam which is used for insulating water pipes over the rough edges of the plywood, so that, when we slide the plastic over it, it won’t tear. Amie had fun prying the foam tubes open.
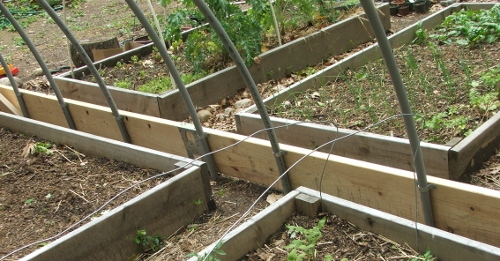
Then we placed the pvc pipes over the rebars: they’re the bendable grey pvc, 10′ long, 1″ in diameter.
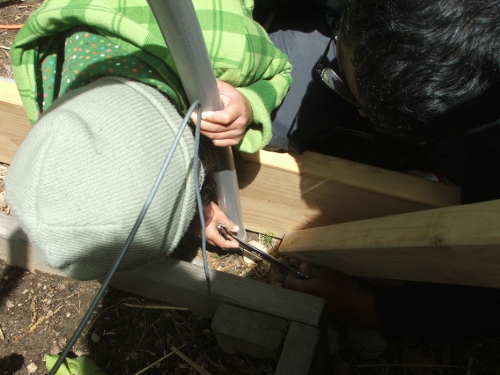
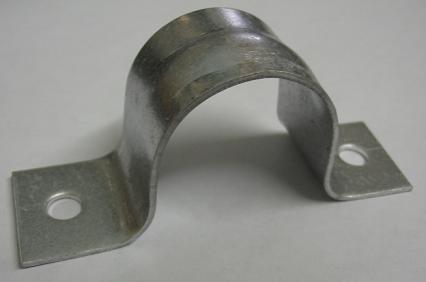
We fastened these to the baseboard with galvanized pipe clips.
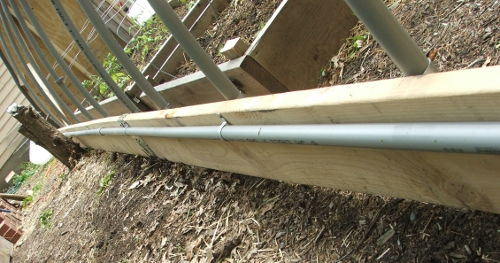
We used the same clips to fasten a long pvc pipe (two 10′ pipes fit together) along the outside upper edge of the baseboard:
In similar fashion we bent and then attached a pvc pipe along the edge of each end wall. These pipes are to snap the plastic to, with these snap clamps which we reused from our previous hoophouse.
~
Still To Do
We are reusing our old plastic, which doesn’t quite fit this version and is torn and dirty, but it will do until the greenhouse plastic arrives. Apparently, that material got cleaned out in the rebuilding of Haiti after the earthquake, so we’ll have to wait till new materials come in. The sheet will be 11 mils clear, 24ft x 24ft = 576sqft (@ $0.32 per sqft that’s $184.32), purchased at Northern Greenhouse Sales. It comes as one sheet, which will make attaching it easier and will make the whole thing look much neater.
Also missing are the doors. At the other two positions in the garden the ground is not so level, so we’re worried about how well the frame of the doorway will keep its shape. Putting in two swinging doors that fit into those frames is not a good option, so we’ll probably go with doors that slide along rails at the top and the bottom. These will be made of a wooden frame with plastic stretched over them. We’ll need doors only by the time the weather turns cold again, so we have some time to figure that one out.
Another thing missing is ventilation. Even without doors, it gets pretty warm in there already. In summer we might need extra ventilation, probably with two fans, one in each end wall. We’ll cut out the holes for these once we know their size.
Finally, we haven’t yet cross-connected the ribs on top. That structural element will become necessary in winter, when it snows. Until then we want to keep our options open. Maybe we’ll reuse the pvc pipes but run a tension line through from one end wall to another to give it extra stability.
~
Initial Assessment
The only drawback I see, so far, is the wood. There’s a lot of wood now, and right on top of soil too. The beds, made of the same boards, have weathered their first year in the soil well. They’re darker, but I see no rot or termite damage, even not on the ones used for the potato towers. So I’m thinking they and the hoop house boards will last at least a couple of years. Five, let’s aim for five. Knock on wood!
~
Materials List and Cost
Wood
- $54.88: four 12′ spruce boards (10″ high)
- $28.74: two 8′ spruce boards (10″ high)
- $42.72: sixteen 2x4x8′ studs
- $9.68: two 2x4x12′ studs
- $73.76: four 4’x8′ plywood sheating (15/32 RTD)
Hardware
- $21.76: four stud shoes
- $3.93: four 3″x7″ ties
- $20: four Simpson rigid corner ties
- $22.08: sixteen 5″ hex bolts with T-nuts
- $2.52: sixteen lockwashers
- $10.88: forty galvanized pipe clips
- $24.84: eighteen 2′ 1/2″ rebars
- $28.24: 5 lbs of exterior 3″ screws
PVC
- $28.80: eighteen 10′ long and 1″ diameter grey (flexible) pvc pipes
- $19.17: nine pvc cross connectors (at the top)
- $24: 40 pvc snap clamps from Creative Shelters
Other
- $5.82: six foam pipe insulation tubes
- $57.48: one 20’x100′ 6 mil landscape plastic, to be replaced soon by $184.32: 11 mils Clear, 24ft x 24ft = 576sqft plastic (@ $0.32 per sqft) purchased at Northern Greenhouse Sales.
Total
That makes for:
- $479.30 for the hoophouse with the old 6 mil landscape plastic, or
- $605.14 for the hoophouse with the new one-sheet 11 mil greenhouse plastic
